Free Cursive Handwriting Practice Sheets (Printable PDF for All Levels)
Most people searching for cursive practice sheets hit the same wall: dusty PDFs that look like they were printed in 1993, or premium worksheet packs locked behind a paywall. You just want to practice. You should not have to pay for paper.
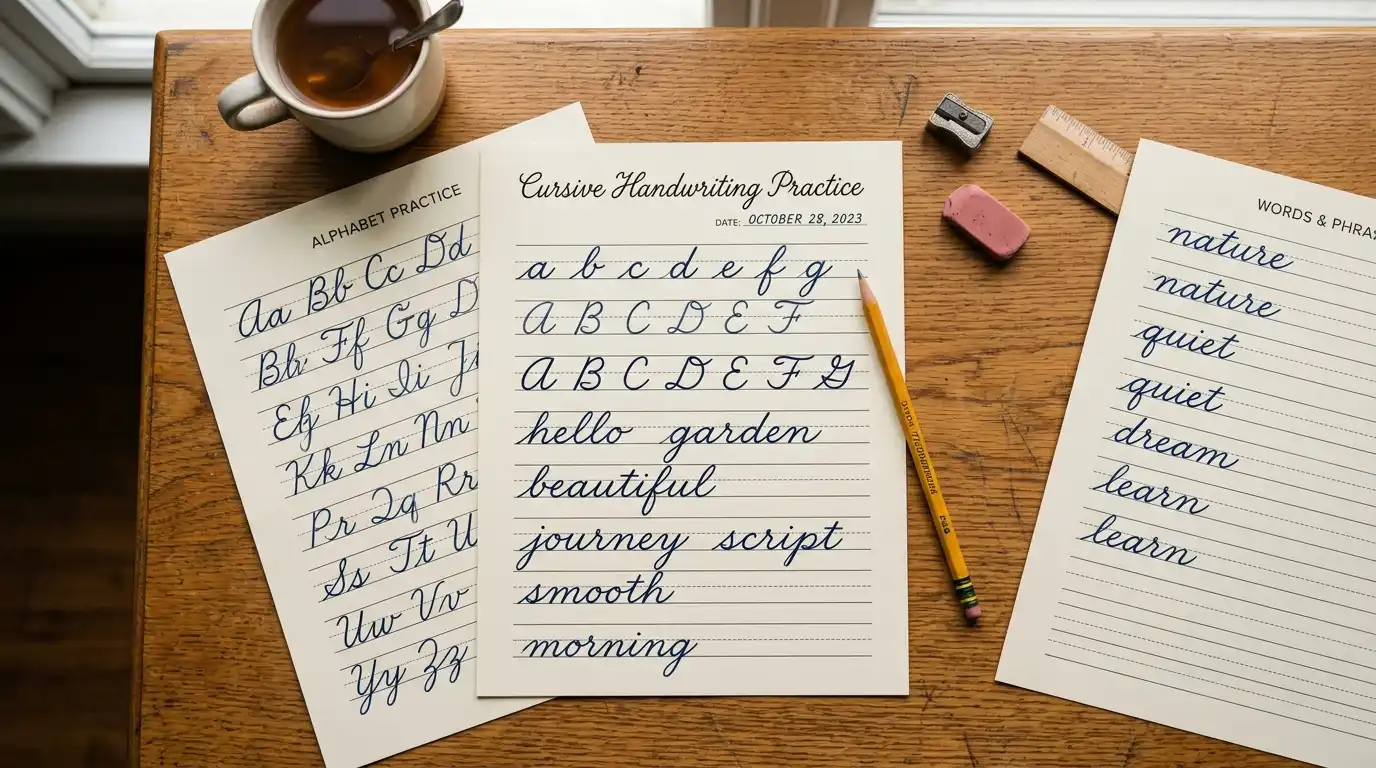
This article gives you everything free. Sheets for absolute beginners starting with their first oval letters, sheets for intermediate learners connecting letters into words, and sheets for advanced writers perfecting sentence flow. Every level, every letter, covered.
And when generic sheets are not enough? There is a free tool at the end of this article that generates custom cursive practice sheets with exactly the words you need to practice - your name, your vocabulary list, your chosen script. No signup, no cost.
Let's get your cursive handwriting from messy to elegant - starting today.
What Makes a Good Cursive Practice Sheet?
The difference between a sheet that actually trains your hand and one that just fills paper comes down to four structural elements.
A good cursive practice sheet always includes four guide lines per row: baseline (where letters sit), midline (top of lowercase letters), ascender line (for letters like h, l, k), and descender line (for g, p, y). Without all four, you are practicing with no frame of reference.
The second element is a letter model at the start of each row. Your hand needs something to copy, not imagine. Third is repetition - a minimum of five practice lines per letter is the standard. Fewer and the motor pattern does not register.
Most free cursive practice sheets online fail all three tests. They show a letter once, give you two blank lines, and call it a worksheet. That is not training - it is a suggestion. The actionable tip: if a sheet does not have four guide lines per row, skip it.
Cursive Handwriting Practice Sheets for Beginners
Before you print anything, understand the sequence. Jumping to words before mastering individual letters is the single biggest mistake beginners make.
Start with oval-based letters: a, c, e, i, o, u. These share a foundational counterclockwise oval stroke that appears in the majority of cursive letters. Master the oval and half the alphabet becomes easier by default.
From there, move to loop letters - l, h, k, b - then hump letters, and finally the difficult group: f, r, s, z. This is not arbitrary sequencing. Each group builds on the muscle memory of the previous one.
Here is the protocol that actually works:
- Practice each letter a minimum of 20 times per session before moving on
- Keep lowercase and uppercase in separate sessions - mixing them confuses muscle memory
- Write slowly - speed is the enemy at this stage
- After every 10 letters, close your eyes and write the letter from feel alone
Specific tip: if a letter still looks wrong after 15 repetitions, stop. Write it once correctly, very slowly, then rest five minutes. Return and try again. Your motor system often needs a short reset more than it needs more repetitions.
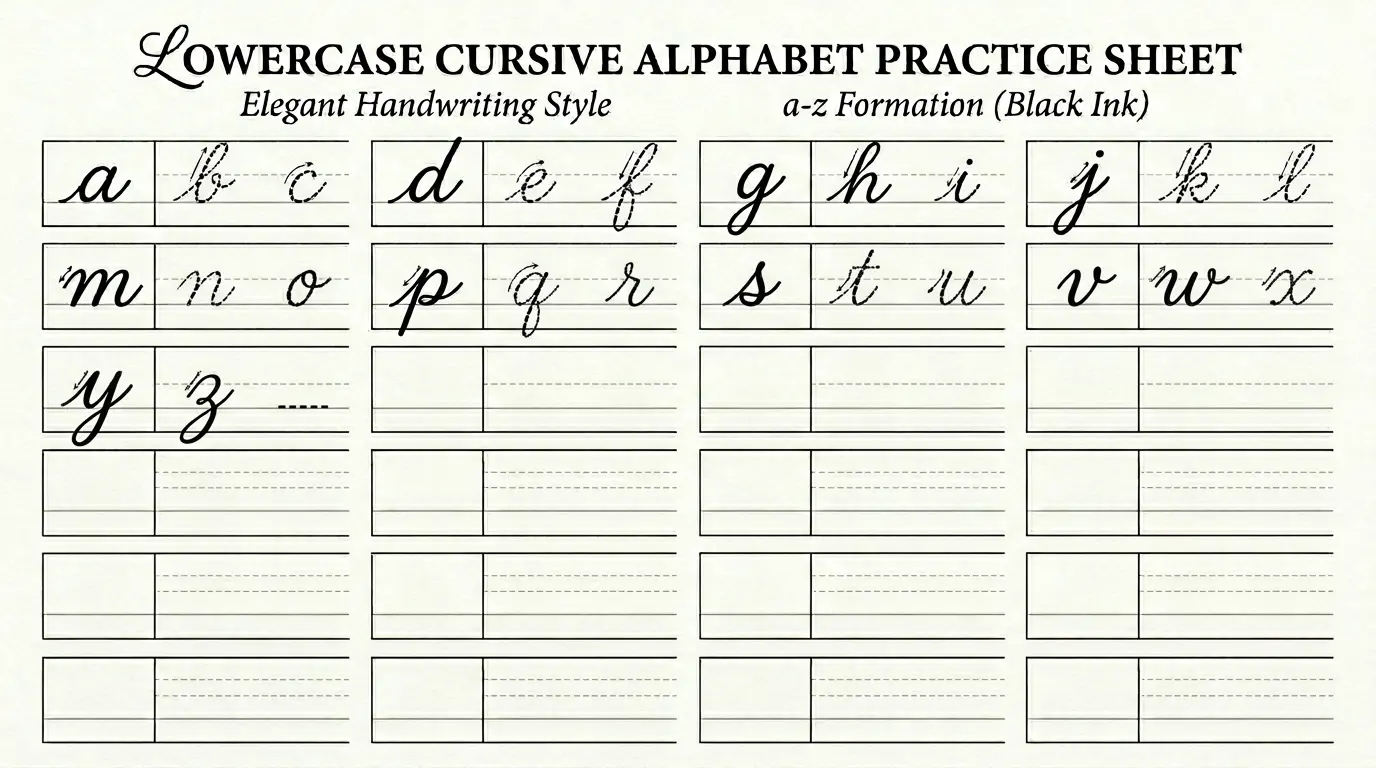
Free Cursive Practice Sheets - Lowercase Letters A to Z
Every cursive letter belongs to one of four groups. Understanding the group tells you exactly how to approach it. Work through each group completely before moving to the next - this is how skill stacks rather than scatters.
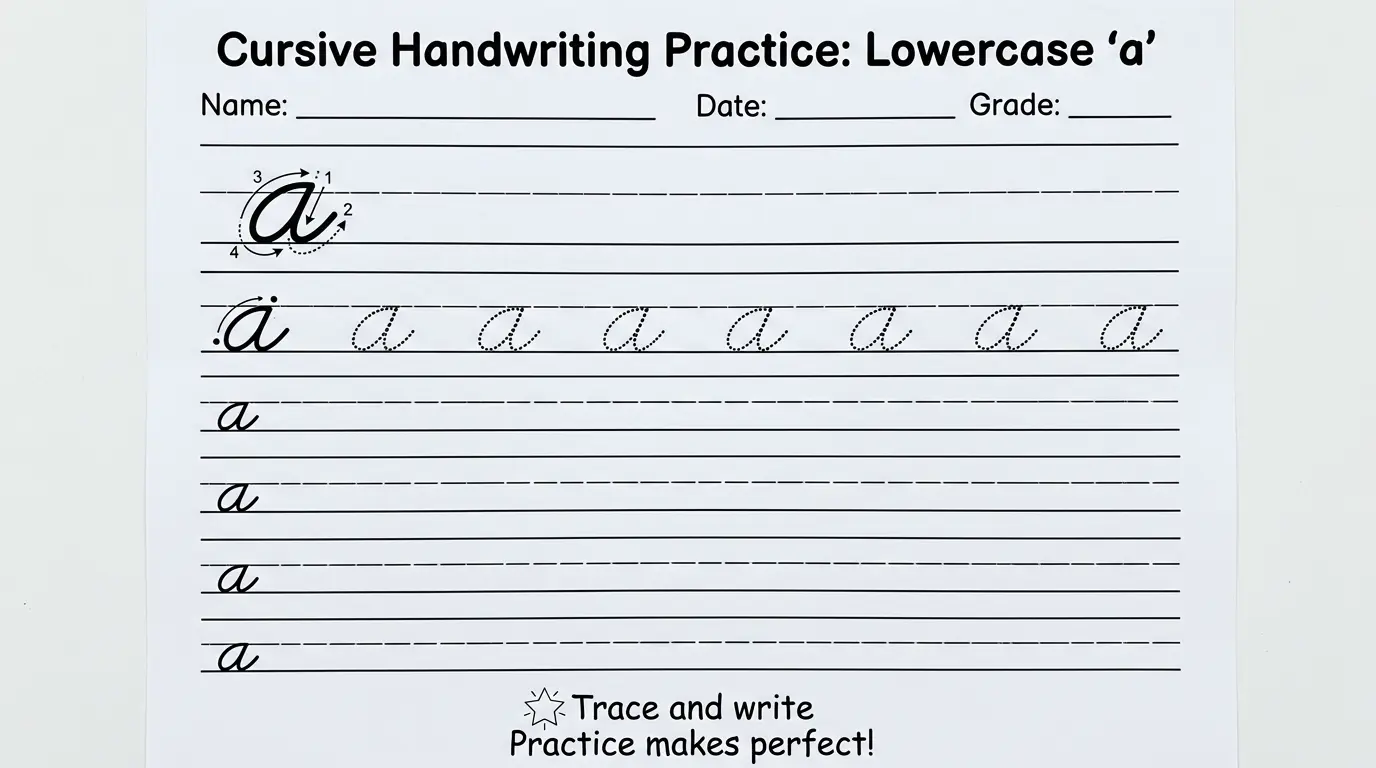
Group 1 - Oval Letters (Start Here): a, c, d, e, g, o, q
All begin with a counterclockwise oval or partial oval - the foundational cursive stroke.
- a - Start at the midline, loop counterclockwise to form an oval, pull down and curve right. Common mistake: the oval gaps at the top.
- c - A simple open oval. Common mistake: closing it into an 'o'.
- d - Oval first, then the tall stem rises to the ascender line. Common mistake: forming the stem before the oval.
- e - Starts with a small loop at the midline. Common mistake: making it look like a printed 'e'.
- g - Oval first, then the tail descends below the baseline. Common mistake: the tail curves left instead of looping right.
- o - Full counterclockwise oval with a small exit stroke right. Common mistake: no exit stroke, which breaks word flow.
- q - Oval plus a descending loop below the baseline. Common mistake: the loop goes right instead of left.
Group 2 - Loop Letters: b, f, h, k, l
These use upward strokes that form distinctive loops at the ascender line.
- b - Rise to ascender line, loop back down, then swing right. Common mistake: the loop is too tight to read clearly.
- f - The only two-story letter: descends below the baseline AND rises above the ascender. Common mistake: not dropping far enough below the baseline.
- h - Rise, loop, then two humps. Common mistake: the second hump is noticeably smaller than the first.
- k - Rise, loop, then a forward kick. Common mistake: the kick points downward instead of forward.
- l - A single tall loop. Common mistake: the loop closes too tightly and reads as an 'e'.
Group 3 - Hump Letters: m, n, v, w, x, y
Multiple humps or intersecting strokes - rhythm is everything here.
- m - Three humps. Common mistake: humps are uneven in height, making the letter read as 'ni'.
- n - Two humps. Common mistake: the last hump does not exit with a clean forward stroke.
- v, w - Angled downstrokes. Common mistake: strokes are too rounded, losing the sharp angle.
- x - Two crossing strokes. Common mistake: the crossing point is off-center.
- y - A hump followed by a descending loop. Common mistake: the loop is too short and does not reach the descender line.
Group 4 - Difficult Letters: f, r, s, z
These break the usual stroke patterns and require more isolated repetition.
- r - Short and awkward, sitting mostly below the midline. Tip: think of it as a tiny bump, not a tall letter. Many people write it too large.
- s - The only letter that reverses direction mid-stroke. Tip: practice it in slow motion with ten extra repetitions before full-speed work.
- z - Rarely used but easy to botch. Tip: picture a printed 'z' with a looped descender hanging below the baseline.
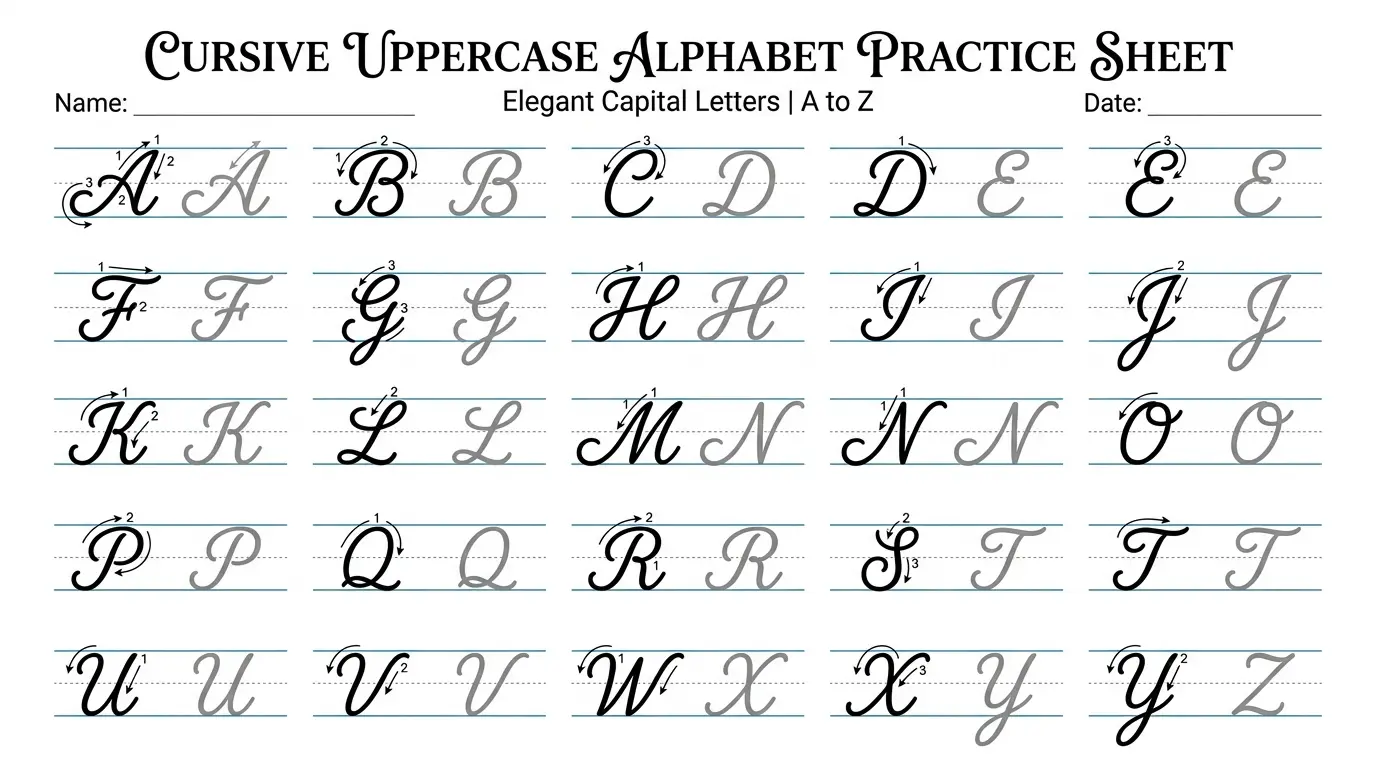
Cursive Uppercase Letters - Practice Sheets
Uppercase cursive is genuinely harder than lowercase, and most beginners make the mistake of practicing both at the same time. Resist that temptation.
Master your lowercase alphabet completely before touching uppercase letters. Once lowercase muscle memory is solid, uppercase letters feel like variations on existing shapes rather than completely new ones.
Start with the six most commonly used capitals: T, F, H, K, N, M. These appear most often at the start of names and sentences, so getting them right early pays off in daily writing immediately.
Three rules that make uppercase cursive dramatically easier:
- Uppercase cursive letters do NOT always connect to the following lowercase letter. Break the flow after most capitals - this is not a mistake.
- Uppercase letters are wider than you think. Give them room on the line.
- Most uppercase letters begin with a small lead-in curve from the baseline. Never skip it - that lead-in is what gives the letter its cursive character.
Actionable tip: print a single uppercase letter on a post-it note and keep it at your desk. Write that one capital 20 times per day for a week before moving to the next. Slow accumulation beats rushed drilling.
Cursive Words Practice Sheets
This is where most learners stall. Individual letters look fine in isolation. Put them into a word and suddenly the whole thing falls apart. This is not a failure - it is the next skill to acquire.
The connection between letters is what makes cursive cursive, and it is also where letter shapes shift slightly. The 'a' in isolation looks different from the 'a' in "cat" because the entry and exit strokes are part of the connected letter - not separate decorations.
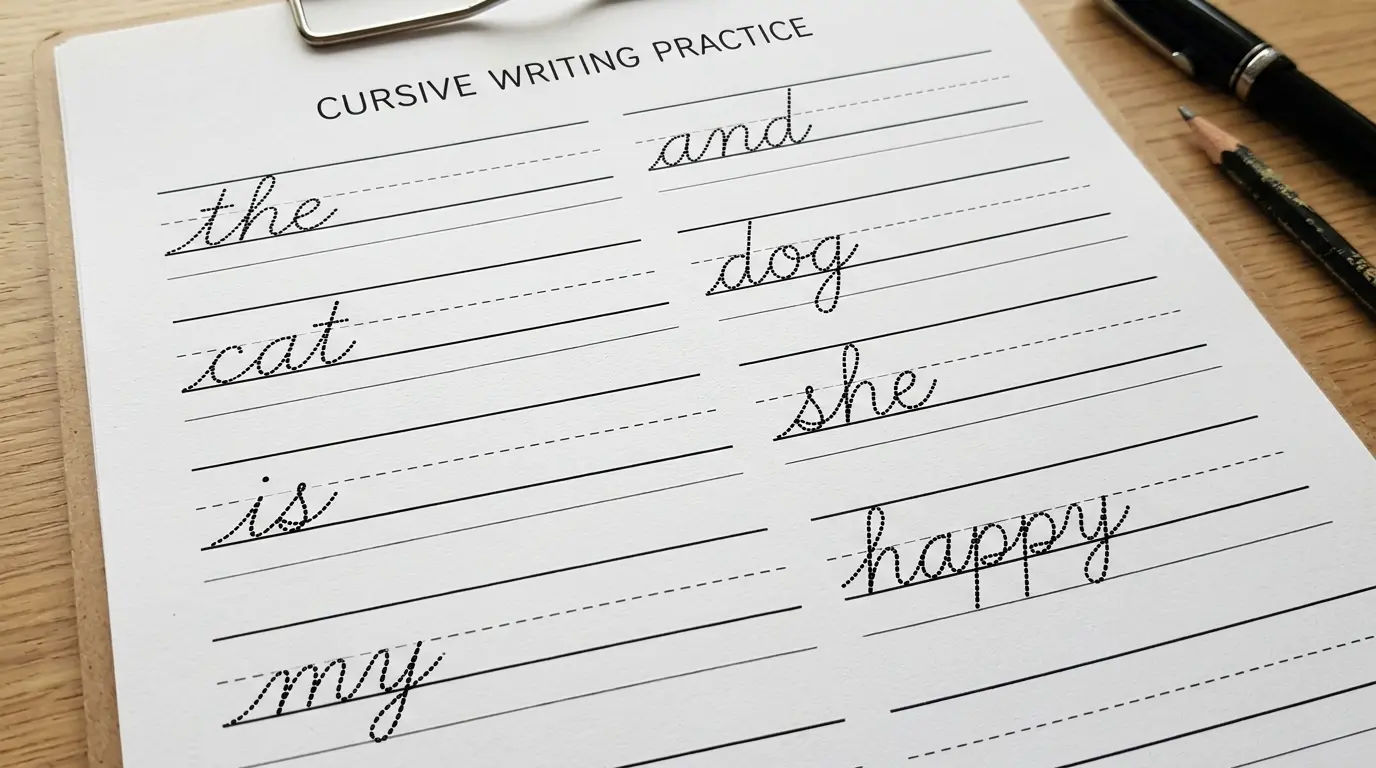
Start with these 20 beginner cursive practice words, chosen for simple letter combinations and high frequency:
the, and, cat, dog, run, fun, big, red, hat, pen, sit, got, map, log, wet, cup, fox, zip, may, own
Work through each word in this exact order:
- Write it five times while looking at a model
- Cover the model and write it five times from memory
- Write it once slowly and deliberately as a final pass
Focus on letter connections. The exit stroke of one letter must flow directly into the entry stroke of the next without lifting the pen. If you consistently lift between two letters, that specific pair needs isolated practice - write just those two letters together, 20 times.
Specific tip: before writing the word on paper, write it in the air with your finger. The large motor movement encodes the stroke pattern before you move to the finer movement on the page.
Cursive Sentences Practice Sheets
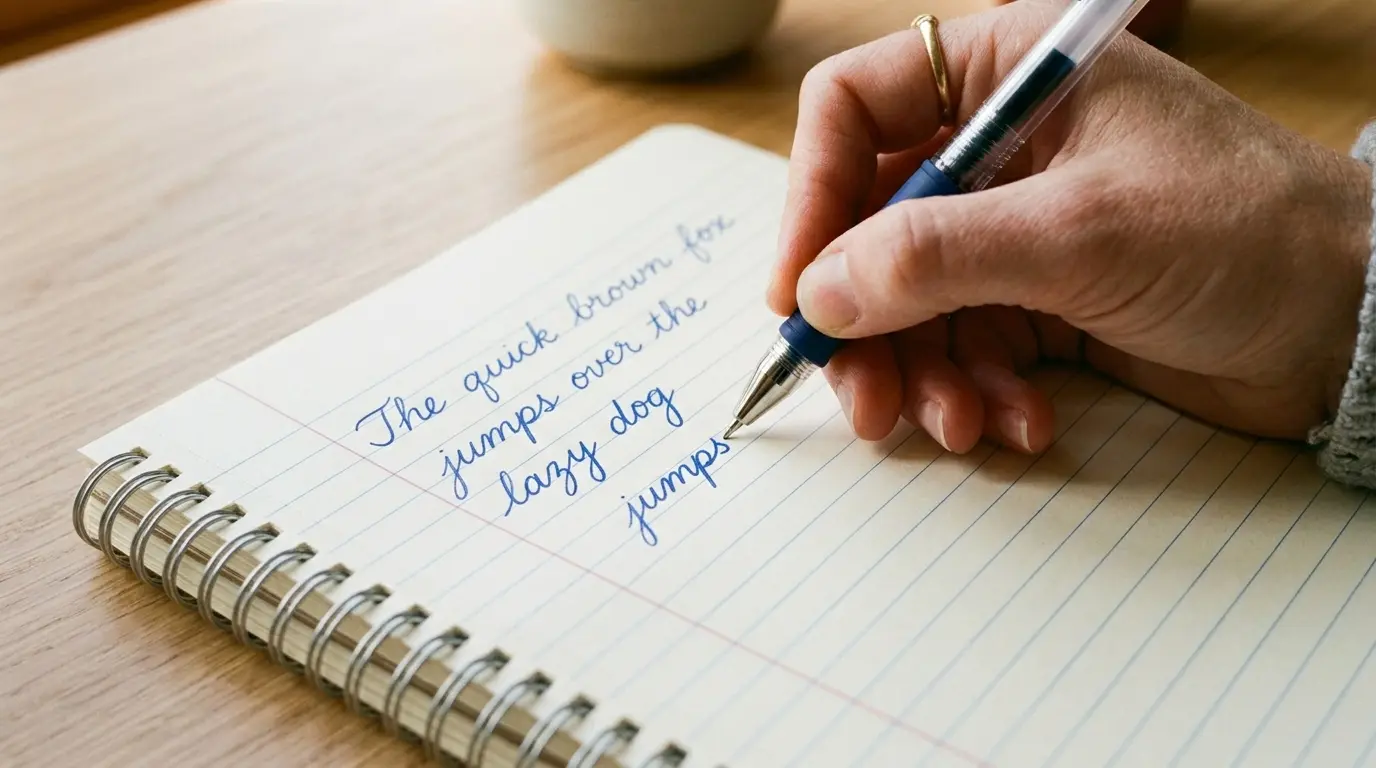
Once words are solid, sentences are where everything consolidates. The most efficient sentence practice tool available is the pangram - a sentence that uses every letter of the alphabet at least once.
Five essential pangrams to use on your printable cursive handwriting practice sheets:
- "The quick brown fox jumps over the lazy dog"
- "Pack my box with five dozen liquor jugs"
- "How vexingly quick daft zebras jump"
- "The five boxing wizards jump quickly"
- "Sphinx of black quartz, judge my vow"
Each session, write one pangram five times. You cover every letter, every connection, every entry and exit stroke - in under 10 minutes.
The advantage over random sentence practice is measurability. You can directly compare today's version to last week's because you are writing the same sentence. Progress becomes visible on paper, and visible progress keeps you showing up for the next session.
How to Use Practice Sheets Effectively
The sheet is only as good as your process. Most people print free cursive writing practice sheets, fill them with rushed scrawl, and wonder why nothing improves.
Print at 100% scale on standard A4 or letter paper - always. Fit-to-page scaling compresses the guidelines and distorts letter proportions. This one mistake undermines the entire practice session.
Use a fountain pen or gel pen, not a ballpoint. Ballpoint requires downward pressure, which creates tension in your grip. Tension kills fluid cursive. A Pilot G2 gel pen costs under $3 and is the standard recommendation for cursive learners at every level.
Sit properly. Your forearm should rest on the desk, not hover. The paper should be angled 30 to 45 degrees from horizontal. Posture affects handwriting more than most people expect - slumped posture produces cramped letters regardless of skill level.
Exact protocol for each session:
- Practice in focused 15-minute blocks - never when tired
- Motor memory encodes incorrectly under fatigue, and bad patterns are harder to fix than no patterns
- After each session: circle your 3 weakest letters on the completed sheet
- Begin your next session with those 3 letters specifically
- Photograph your completed sheets weekly - side-by-side comparisons reveal progress your daily eye misses
Generate Your Own Custom Cursive Practice Sheets Free
Generic printable cursive handwriting practice sheets cover the full alphabet. But they cannot anticipate what you personally need to work on.
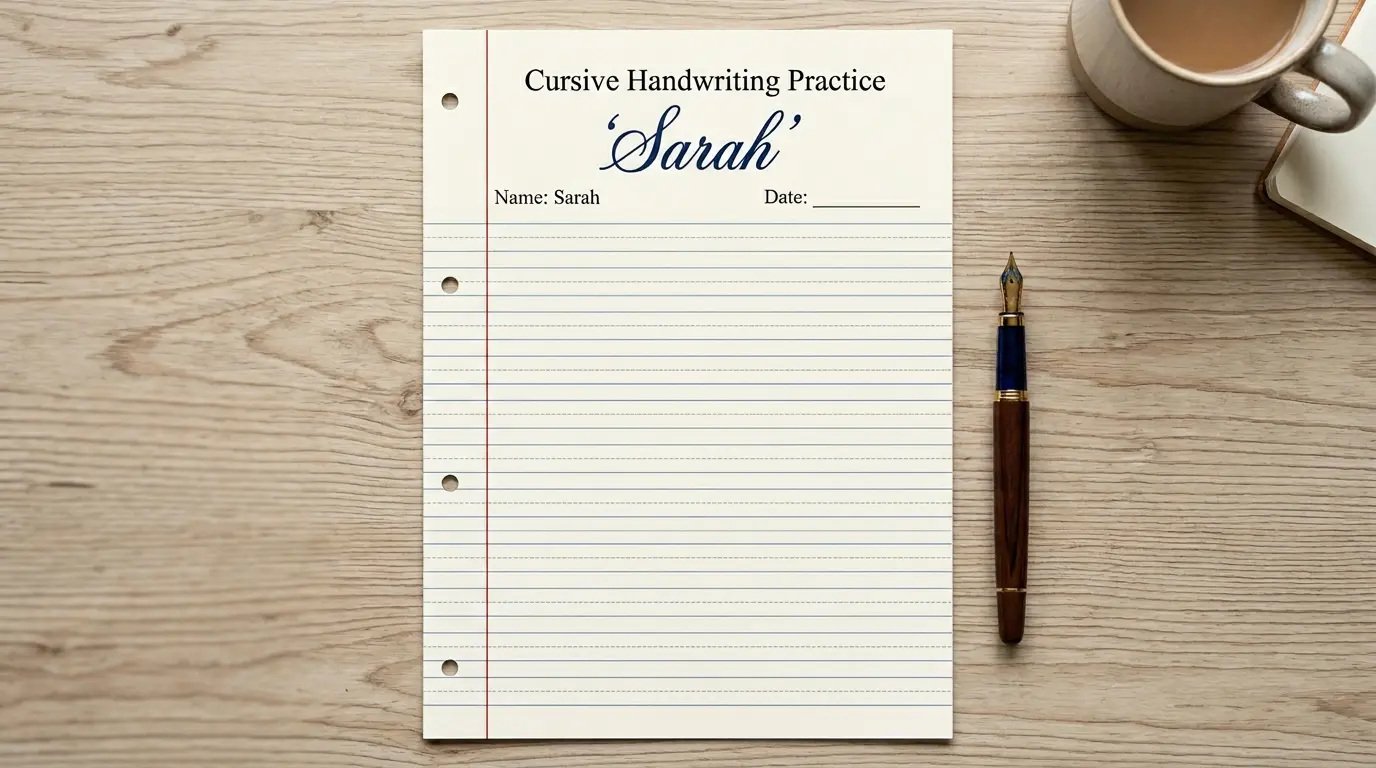
If your name has three cursive letters you always botch, you do not need a sheet covering all 26. You need 40 repetitions of those three letters in sequence, in context. Instead of printing generic sheets, generate a custom one with exactly the text you want to practice.
HandwritingMaker's free cursive practice sheet generator lets you type any word, sentence, or paragraph and instantly renders it in cursive handwriting style. Download as PNG or PDF and use it as your personal reference sheet.
This is especially useful for:
- Practicing your name or signature in cursive
- Children learning to write their name before tackling the full alphabet
- Students practicing vocabulary words in cursive for school assignments
- Anyone targeting specific letter combinations they consistently get wrong
Visit the text to handwriting converter and type your target text. It renders instantly with no signup, no download, no cost. Generate as many custom practice references as you need. For a step-by-step walkthrough of building your own sheets from scratch, see our guide on how to make cursive handwriting practice sheets.
Cursive Practice Sheet PDF - How to Print Correctly
One technical mistake ruins more practice sheets than any other: printing at "fit to page" instead of 100% scale.
Always set your printer to "actual size" or exactly 100% - find this in your printer's Page Scaling or Paper Size settings. Fitting to page shrinks the guide lines and makes letters too small for effective practice.
- Portrait orientation only for all handwriting sheets
- Standard printer paper works for daily practice
- For reusable sheets: print on cardstock and laminate with dry-erase markers
- For children: laminated sheets plus washable markers eliminate paper waste entirely
- Always export as PDF before printing - PDF preserves scale; a screenshot does not
How Long Until You See Results?
Here is the honest timeline based on daily 15-minute practice with proper cursive handwriting practice sheets:
- Week 1–2: Letters look shaky but more intentional. You are building awareness, not skill yet. This phase feels slow - push through it.
- Week 3–4: Consistency starts forming. Some letters are becoming automatic and you will notice a few that look genuinely better.
- Month 2: Recognizable improvement visible to others. The difference is no longer only in your head.
- Month 3: Muscle memory solidifying. New letterforms begin to feel natural rather than effortful.
- Month 6: Natural, fluent cursive. Writing a page feels effortless rather than fatiguing.
The gap between people who improve and those who plateau is not talent, not the quality of their practice sheets, and not the pen they use. The single variable that determines outcome is consistent daily practice. Fifteen minutes every day beats two hours on Sunday, every time - because motor memory is built through repetition over time, not volume in a single session.
Frequently Asked Questions
Start Practicing Today
The path from shaky cursive to confident, elegant script follows the same progression every time: individual letters first, then words, then sentences. The sheets in this article cover every stage - beginner oval letters, full lowercase and uppercase alphabets, word connection practice, and sentence pangrams that drill every letter in a single pass.
Generic practice sheets get you most of the way there. For the gaps - the specific letters you keep getting wrong, your name, your vocabulary list - you need something custom.
Ready to take it further? Generate a completely custom cursive practice sheet using your own text at HandwritingMaker - free cursive handwriting practice sheet generator, free, instant, no signup required.